Split peas are a popular legume used in soups, stews, and other dishes. But did you know that split peas can also be sprouted? Sprouting greatly enhances the nutritional value of seeds and grains. So sprouted split peas deliver a mega-dose of vitamins, minerals, and other nutrients.
In this article, we’ll cover everything you need to know about sprouting split peas at home. You’ll learn:
- What split peas are and their nutrition benefits
- Why sprouting makes split peas a superfood
- A simple step-by-step guide for sprouting split peas
- How to eat and enjoy your homegrown sprouts
- Tips for getting the best results
Let’s dive in and unlock the amazing potential of sprouted split peas!
What Are Split Peas?
Split peas are simply dried and split field peas There are both green and yellow varieties When cooked, split peas have an earthy, nutty flavor and soft texture.
Split peas provide fiber, protein, iron, potassium, zinc, folate, and B vitamins They are naturally low in fat and sodium The protein in split peas contains all essential amino acids, making them a plant-based complete protein.
Compared to other legumes split peas are relatively low in anti-nutrients. This means the nutrients in them are highly bioavailable and can be easily absorbed by your body.
The Incredible Benefits of Sprouted Split Peas
The sprouting process brings out the full nutrition potential of seeds, grains, and legumes. Sprouting causes beneficial biochemical changes that make nutrients more potent and accessible.
More specifically, sprouting split peas increases:
-
Protein: The protein content rises during sprouting. Sprouted split peas contain 8-11% protein.
-
Fiber: Sprouting boosts fiber by converting starches into resistant starches and fiber. This aids digestion.
-
Vitamins: Vitamin levels surge during sprouting, especially B vitamins, folates, and vitamin C.
-
Minerals: Important minerals like iron, calcium, phosphorus, magnesium, zinc, and manganese become more concentrated and bioavailable after sprouting.
-
Enzymes: Sprouting dramatically increases enzymes that improve digestion and overall health.
-
Antioxidants: Sprouting raises antioxidant activity to fight oxidative stress and inflammation.
Additionally, sprouting reduces anti-nutrients like phytic acid, oligosaccharides, trypsin inhibitors, and tannins that can inhibit nutrient absorption.
Clearly, sprouting unlocks a goldmine of nutrition in split peas. But can they actually be sprouted since they are split in half?
Can You Actually Sprout Split Peas?
Traditional wisdom states that split peas can’t be sprouted since they don’t contain an intact embryo. However, some home gardeners have successfully sprouted split peas.
Although many split peas may not contain an embryo, it appears that some do. The husk is removed during the splitting process, but the embryo remains in certain split peas.
When these split peas are sprouted, only the half containing the embryo will actually sprout. The other half may soften but won’t grow.
Yet both halves still undergo beneficial biochemical changes through soaking and rinsing. So sprouting split peas is absolutely worth trying. At minimum, it enhances digestibility and nutrition.
Follow the simple steps below to unlock the potential of sprouting split peas at home.
How to Sprout Split Peas in 6 Easy Steps
Sprouting split peas is a fun gardening project that takes just 5 minutes per day. Here is a step-by-step guide:
What You’ll Need
- 1 cup split peas (green or yellow)
- A wide-mouthed sprouting jar
- Cheesecloth or mesh sprouting lid
- Water (preferably filtered)
Step 1 – Rinse and Soak
Add the split peas to your sprouting jar and cover with 2-3 inches of cool water. Allow to soak 8-12 hours.
Step 2 – Drain and Rinse
Drain off the water from the soaked split peas. Rinse thoroughly under cool running water while swirling the jar to remove any debris.
Step 3 – Repeat Rinse & Drain
Rinse and drain the split peas 2-3 more times, every 8-12 hours.
Step 4 – Cover with Mesh Lid
Once tiny tails emerge after 1-2 days, cover the jar with cheesecloth or a mesh sprouting lid secured with a rubber band.
Step 5 – Final Rinses
Do a final rinse and drain every 8-12 hours for 2-3 more days as the sprouts grow.
Step 6 – Refrigerate
Transfer finished sprouts to an airtight container. Refrigerate and consume within 5 days.
And that’s it! In just 3-5 days you’ll have a bountiful harvest of homegrown split pea sprouts. Kids love joining in on the fun too.
Tips for Growing Great Split Pea Sprouts
Follow these tips for optimal results when sprouting split peas:
- Start with organic split peas whenever possible
- Carefully inspect and remove damaged peas, debris, stones
- Use filtered water and sterilized sprouting jars
- Rinse and drain frequently, at least 2x per day
- Avoid direct sunlight to prevent overheating
- Gently agitate or turn the jar daily for even sprouting
- Stop rinsing once sprout tails appear, just airflow
- Refrigerate finished sprouts ASAP to halt sprouting
- Eat sprouts within 3-5 days for peak freshness and nutrition
Delicious Ways to Enjoy Sprouted Split Peas
The mild, nutty taste and tender crunchy texture of sprouted split peas make them endlessly versatile. Here are some ways to eat them:
- Toss into salads, bowls, wraps, sandwiches
- Blend into smoothies, dips, dressings, hummus
- Mix into soups, curries, stews, stir-fries
- Add to omelets, frittatas, scrambled eggs
- Layer on pizzas, flatbreads, pitas, burgers
- Combine with rice, quinoa, pasta, grains
- Bake into breads, muffins, bars, granola
- Lightly steam and serve as a side dish
- Juice them for an energizing, nutrient-rich drink
Start with small amounts until you get used to the taste and texture. Aim to consume your split pea sprouts within 3-5 days for optimal freshness and nutritional quality.
The Takeaway on Sprouted Split Peas
Many people don’t realize split peas can be sprouted at home. But the evidence confirms that while not all split peas will sprout, some containing the embryo absolutely will.
Even split peas that don’t visibly sprout still undergo beneficial changes through soaking and rinsing. Sprouting makes the nutrients in split peas more bioavailable and enhances their digestibility.
It’s an easy, fun gardening experiment that yields a sustainable source of powerful plant-based nutrition. So why not give sprouting split peas a try?
In less than a week, you can grow an abundant harvest of tasty, crunchy sprouted split peas to boost your health.
PREPARING TO SPROUT GREEN PEAS
Before you get started sprouting green peas, read through these helpful tips:
- Green peas sprout better in cooler temperatures. Keep sprouting beans around 68-70°F, if possible.
- Green peas require a longer soaking period and more frequent rinsing and draining than smaller seeds, especially in warmer temperatures.
- Green peas may not get enough air during draining. Make sure your sprouting container allows plenty of ventilation during draining periods. Try a sprouting bag instead of a jar for green peas and other larger beans.
- It is normal for the skins to loosen and come off the peas during sprouting. Either pick the skins out or leave them in, as they do not affect the flavor.
- Sprouted green peas require cooking before consuming.
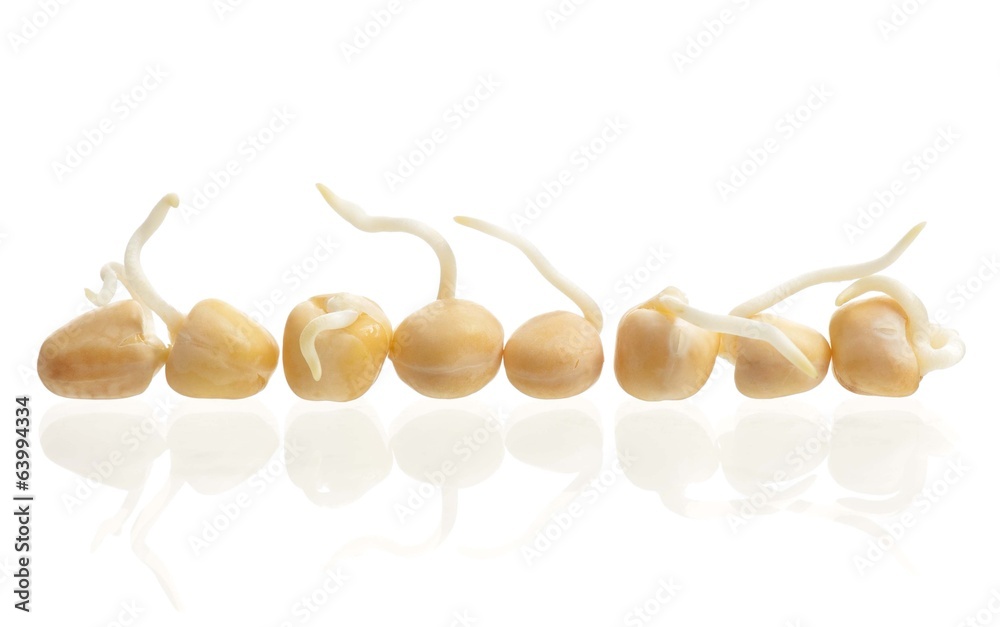
Split pea sprouts
FAQ
How do you sprout split peas?
- Place the peas into the glass jar and cover with the water. …
- Once the peas are soaked, drain them and return them to the jar.
- Next, cover the jar. …
- Rinse and drain the peas once a day for 2-3 days, or until you are happy with the size of the sprouts.
- Enjoy!
Can you grow peas from dried split peas?
You cannot sprout split peas because they do not contain the genetic information to produce a sprout. However, you can sprout dried peas, and these are the same food.
Are sprouted split peas safe to eat?
Both pea sprouts and pea shoots can be eaten raw. Only the roots and pea on pea shoots are cut away.
Do split peas sprout?
A split pea is only half of a seed, and therefore it will not contain all of the genetic information needed to produce a sprout. If you want to sprout peas, you will need to use whole peas. Split peas and whole peas are identical besides the fact that one has been split in half, so let’s find out how to get your peas sprouting.
Is an allergy to peas common?
The top food allergies are milk, egg, wheat, soy, peanut, tree nuts, fish, shellfish; allergies to legumes including peas are thought to be the next most common allergy. People are usually not allergic to all legumes, but allergy to more than one legume often occurs.
Can You Grow your own split peas?
Yes, you can grow your own split peas. Split peas are made from the seeds of the pea plant, which is a cool-season crop. To grow split peas, plant the seeds in well-draining soil in early spring or late summer/early fall, depending on your climate.
Can you make split peas from seeds?
Once the pea plants have matured and the seeds are dry, you can harvest them and dry them further to make split peas. Simply remove the seeds from the pods, spread them out in a single layer, and let them air dry for several days. Then, split the seeds along their natural seam to make split peas.
Can you eat split peas?
Eating raw sprouts carries a risk of food poisoning. You cannot sprout split peas because they do not contain the genetic information to produce a sprout. However, you can sprout dried peas, and these are the same food. To do this, you should soak the peas in water and then consistently rinse and drain them for a few days.
How to sprout green peas?
Green peas sprout best in cool temperatures, so aim for around 70°F at most. Keep green peas (and other large beans) well ventilated while sprouting. A bag may work better than a jar, as it improves ventilation. Next, let’s explore how to sprout green peas. Rinse your peas thoroughly in cold water.