Loofahs also known as luffas or vegetable sponges, are versatile plants that can be eaten when young or dried to create natural sponges. Growing your own loofahs from seeds is easy and fun. Here is a complete guide on how to grow loofah seeds successfully.
An Overview of Loofahs
Loofahs belong to the cucurbit family which includes cucumbers, melons squash and gourds. There are two main varieties grown – smooth loofah (Luffa cylindrica) and angled loofah (Luffa acutangula).
Loofahs are very fast growing annual vines that need hot weather and plenty of space to thrive They have large yellow flowers which produce the loofah fruits Immature loofahs can be eaten as a vegetable but they become fibrous and spongy as they mature on the vine.
Once dried, the interior fibrous vascular tissue can be removed and used as a natural sponge. Loofah sponges are biodegradable and environmentally friendly.
When to Start Loofah Seeds
Loofahs require warm soil and air to grow well so timing is important, especially in cooler climates.
In warm climates (zones 8-10), seeds can be directly sown into the garden 2-3 weeks after the last frost when soil temperatures reach at least 65°F.
In cooler climates (zones 3-7), it’s best to start seeds indoors 4-6 weeks before the last expected frost.
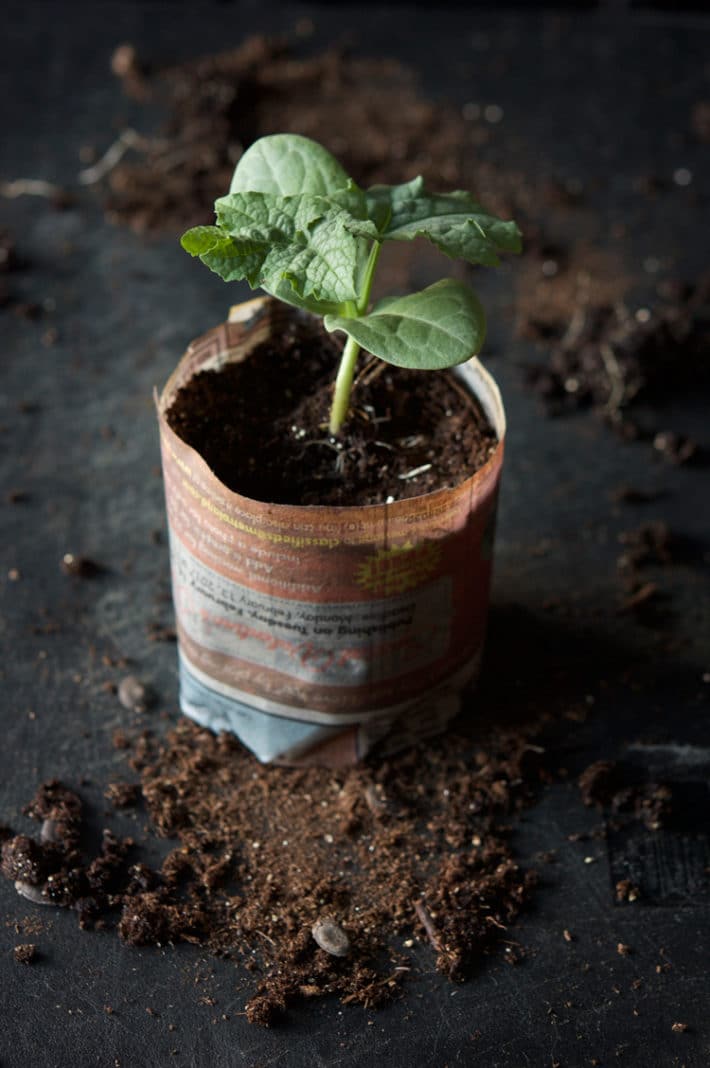
Seeds should be started in individual biodegradable pots or containers that are at least 4 inches deep. This gives the taproot room to develop. Move plants outside gradually a week or two before planting to harden them off.
Transplant into the garden when nighttime temperatures are consistently above 55°F and all danger of frost has passed.
How to Start Loofah Seeds
Starting loofah seeds properly is important for good germination rates. Here are some tips:
-
Soak seeds in room temperature water for 12-24 hours before planting. This softens the outer shell.
-
Use fresh seed starting mix and plant 1 seed per container, 1⁄2 to 1 inch deep.
-
Maintain a temperature of 70-90°F for best germination.
-
Keep seed starting mix moist but not soaked.
-
Germination takes 7-14 days. Thin to the strongest seedling.
-
Harden off plants for 7-10 days before transplanting.
How to Grow Loofahs
Loofahs require full sun exposure and plenty of space to grow. Here are some tips for growing loofahs successfully after transplanting:
-
Plant 4-6 feet apart in rows 5-6 feet apart. They need room to sprawl.
-
Loofahs prefer loose, well-drained, fertile soil rich in organic matter. Add compost before planting.
-
Install strong trellising for vines to climb. A sturdy fence or trellis at least 6 feet is ideal.
-
Water at the base of plants consistently to maintain moist but not saturated soil. Add mulch to retain moisture.
-
Fertilize every 3-4 weeks with a balanced liquid fertilizer or compost tea once vines begin to grow.
-
Pinch off the ends of vines once they reach 10 feet long to encourage branching.
-
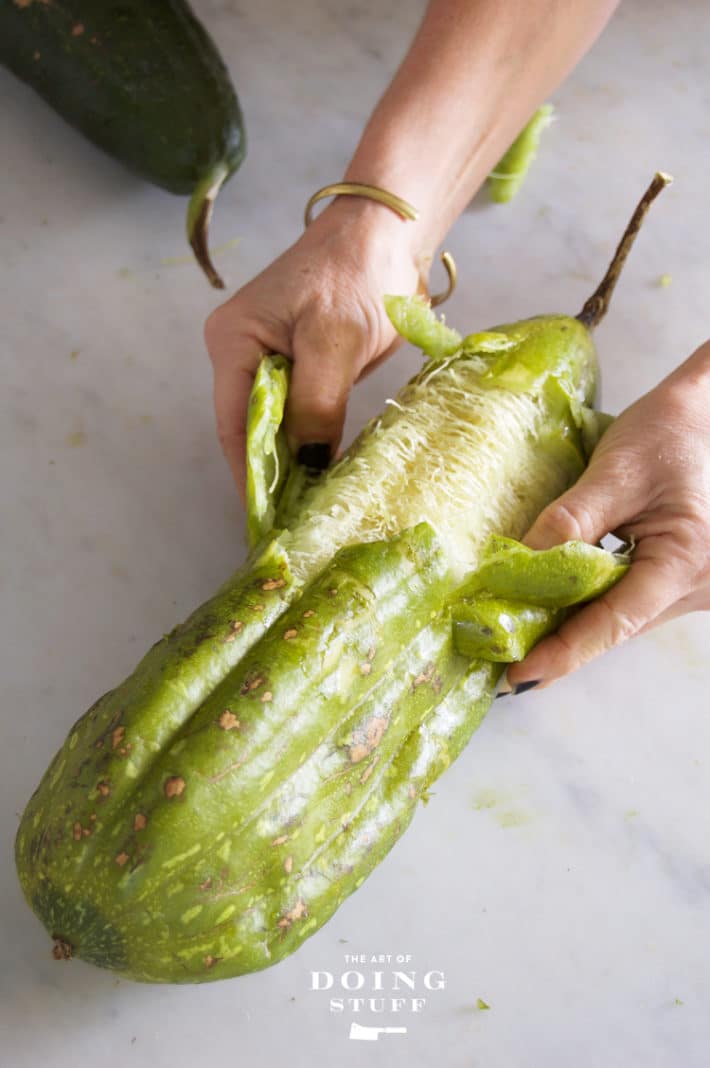
Harvest loofahs once the skin turns yellow or brown and peels easily. Dry fully before using.
Common Problems When Growing Loofahs
Here are some common problems you may encounter and how to prevent them:
-
Slow growth – Ensure full sun exposure, use rich soil, water consistently, and fertilize.
-
Poor germination – Use fresh seeds, soak before planting, and maintain proper temperature.
-
Transplant shock – Harden off seedlings properly and plant at correct time.
-
Inadequate pollination – Hand pollinate flowers if needed and attract pollinators.
-
Vine decline – Provide strong trellising, pinch vines, maintain soil moisture, and avoid wind damage.
-
Fruit rots – Avoid overhead watering and harvest mature fruits promptly.
Harvesting and Drying Loofahs
-
Harvest loofah fruits when the skin turns completely yellow or brown and peels easily from the fibers.
-
Leave fruits on the vine as long as possible for maximum fiber development.
-
Cut from the vine, leaving a short stem attached.
-
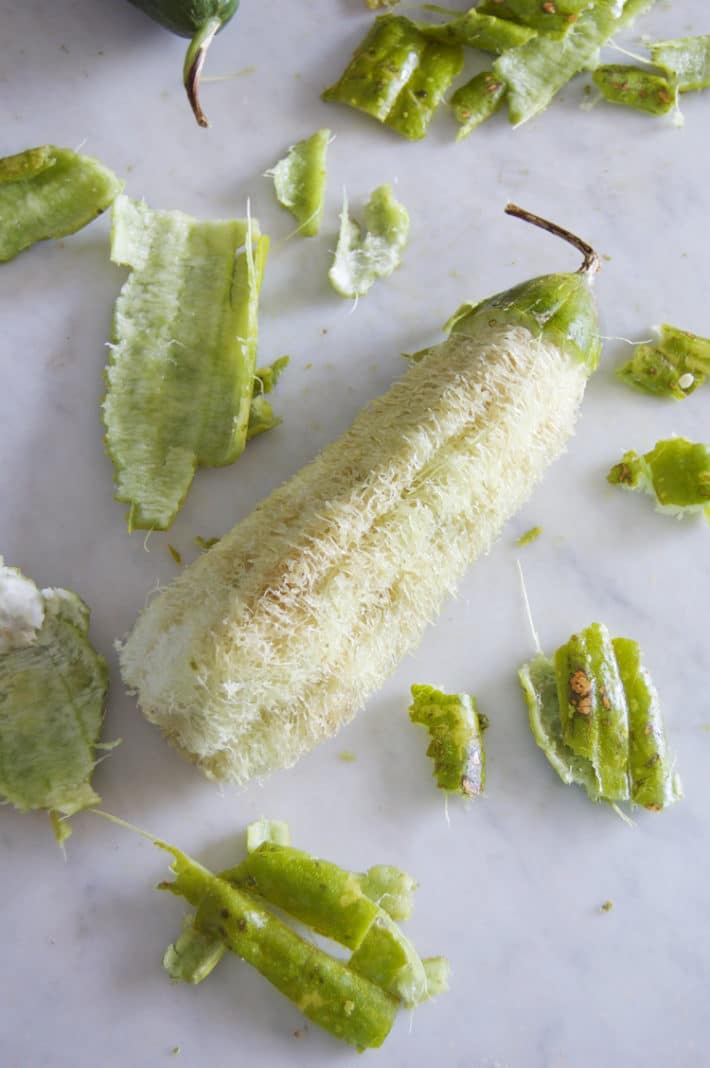
Peel off the outer skin once the fruit is picked. It should come off easily and reveal the inner spongy fibers.
-
Remove and discard seeds if saving for future planting.
-
Rinse off the fibers and wash in soapy water if needed to remove any remaining residue.
-
Allow loofahs to dry fully in a warm, well ventilated area out of direct sunlight before using. Turn them periodically.
-
Properly dried loofahs will be lightweight and the fibers will be stiff and crispy.
-
Store completely dried loofahs in a breathable bag or sack. They will keep for years.
Final Tips
Growing loofahs is greatly rewarding but requires patience. Here are some final tips for success:
-
Start with high quality, fresh seeds even if they are more expensive.
-
Ensure the growing area gets full sun for at least 8 hours daily.
-
Provide strong trellising early on for the heavy vines.
-
Hand pollinate flowers to increase yields.
-
Maintain consistent soil moisture and fertility. Loofahs are heavy feeders.
-
Harvest and dry properly or the loofahs will rot and not be useable.

Planting out in the garden
- When the weather is right ( air is consistently around 70 F or 21 C) start hardening off your seedlings. This is more important than with most other plants because Luffa are so prone to transplant shock.
- After a week or so of hardening off, plant your seedlings in an area that gets FULL sun. As much sun as possible. Anything less and you wont get any Luffas.
TIP – If youre unsure of what it is or how to do it, read these steps on how to harden off plants.
- Plant your loofah seedlings at the base of a strong structure that its vines can climb on and cling to. Chain link fence or something similar is perfect.
- If after planting out, a cold snap threatens, cover the seedlings with a vented cloche. Or you can cut the bottom off of a plastic pop bottle and place it over the plant (with the cap removed to allow venting). A few days of cold weather will STOP a luffa from growing and it could take a month before they get over the shock.
- Luffa will produce fruit 3 months after direct seeding, and 4 months after starting seeds inside. They are ready to harvest 6-7 months after seeding.
Alright then, youve started them from seed and planted them out. Now what do you do for the rest of the summer?
Peeling, Processing & Preparing
How to Grow Luffa / Loofah Sponges From Seed!
FAQ
Do you soak loofah seeds before planting?
The recommended planting time for these heat-loving plants is April or May. Soak your luffa seeds in warm water for a day before planting to help with the germination process.
Is loofah hard to grow?
A member of the cucumber family, a luffa is a vining plant, grown much like cucumbers. They need to climb up a structure, and they need full sun and plenty of soil moisture. However, unlike cucumbers, my luffas did not have diseases or pest issues. They are easier to grow and can be eaten if the fruit are young.
How many loofahs will one plant produce?
If they’re grown in optimal conditions, gardeners will get between 10 and 40 gourds per plant. And there’s more!
How long does it take to grow a loofah?
The plant needs about 110 days to go from vine, to flower, to fully mature fruit. I’ve covered growing loofahs in the past (page 164 of the You Grow Girl book) and even though I know a thing or two about the process I have never grown anything worth holding up alongside Rachel’s sponge.
How do you grow loofah seeds?
{3/29/21} ••• LOOFAH UPDATE #3: After sowing and watering in my pre-soaked loofah seeds in the moist, organic seed starting mix, I covered with a humidity dome and placed the entire tray on a waterproof heat mat. Heat mats increase the overall soil temperature, bettering germination rates and early plant growth.
How do you grow a loofah gourd?
Loofah gourds are produced on vigorous plants that can grow up to thirty feet long. It’s important to provide, a sunny spot and encourage fast, consistent growth by maintaining soil moisture and feeding the plants regularly.Give your plants a good start at planting time by digging in several inches of compost or aged manure.