Downy Mildew: This fungus causes whitish grey patches on the undersides and eventually both sides of the leaves. Burpee Recommends: Rotate crops with plants in a different family. Avoid overhead watering. Provide adequate air circulation, do not overcrowd plants. Do not work around plants when they are wet.
Edema (Oedema): Leaves become distorted due to excess moisture in the soil. Plants absorb more water than they can use. Burpee Recommends: Do not overwater plants, keep the soil moist but not wet. If drainage is poor add compost or peat moss to improve drainage.
Powdery Mildew: This fungus disease occurs on the top of the leaves in humid weather conditions. The leaves appear to have a whitish or greyish surface and may curl. Burpee Recommends: Avoid powdery mildew by providing good air circulation for the plants by good spacing and pruning. Contact your Cooperative Extension Service for fungicide recommendations.
Root Knot Nematodes: Microscopic worm-like pests that cause swellings (galls) to form on roots. Plants may wilt or appear stunted. This is a serious problem in many Southern states. Burpee Recommends: Do not plant into infested soil. Grow resistant varieties. Try planting ‘Nema-Gone’ marigolds around your plants.
A lush, vibrant balsam plant is a sight to behold in any garden. Those delicate blossoms in shades of pink, red, purple, and white simply sing against rich green foliage. But like any diva, a balsam plant requires special care and attention from her adoring fans. Proper mulching is one of the best ways to keep your balsam plant looking gorgeous all season long. In this comprehensive guide, we will walk through everything you need to know about mulching around balsam plants for optimal health and beauty.
Why Mulch Around Balsam Plants
Mulching provides a multitude of benefits that will help your balsam plant thrive in the garden:
-
Moisture retention – Mulch acts like a blanket, trapping moisture close to the soil so the roots can access it easily. Balsams need consistently damp (but not soggy) soil.
-
Weed suppression – A thick layer of mulch blocks light from reaching weed seeds. Fewer weeds means less competition for nutrients and water.
-
Soil insulation – Mulch moderates soil temperature, keeping roots cooler in summer and warmer in winter. Extreme temp fluctuations can shock balsam plants.
-
Nutrient addition – As organic mulches break down, they enrich the soil with valuable nutrients. This is like a steady dose of plant food.
-
Erosion control – Mulch prevents soil from washing or blowing away during heavy rain and wind. Balsam roots remain neatly tucked in.
-
Visual appeal – A blanket of fresh mulch simply looks nice around ornamentals like balsams. It ties the whole garden together.
How to Mulch Around Balsam Plants
Mulching balsam plants is simple but proper technique is important. Follow these steps for mulching success:
Choose the Right Mulch
Organic mulches are best for balsams. Avoid plastic sheeting, rubber, stone, and other inorganic mulches which can create excess humidity.
Best bets:
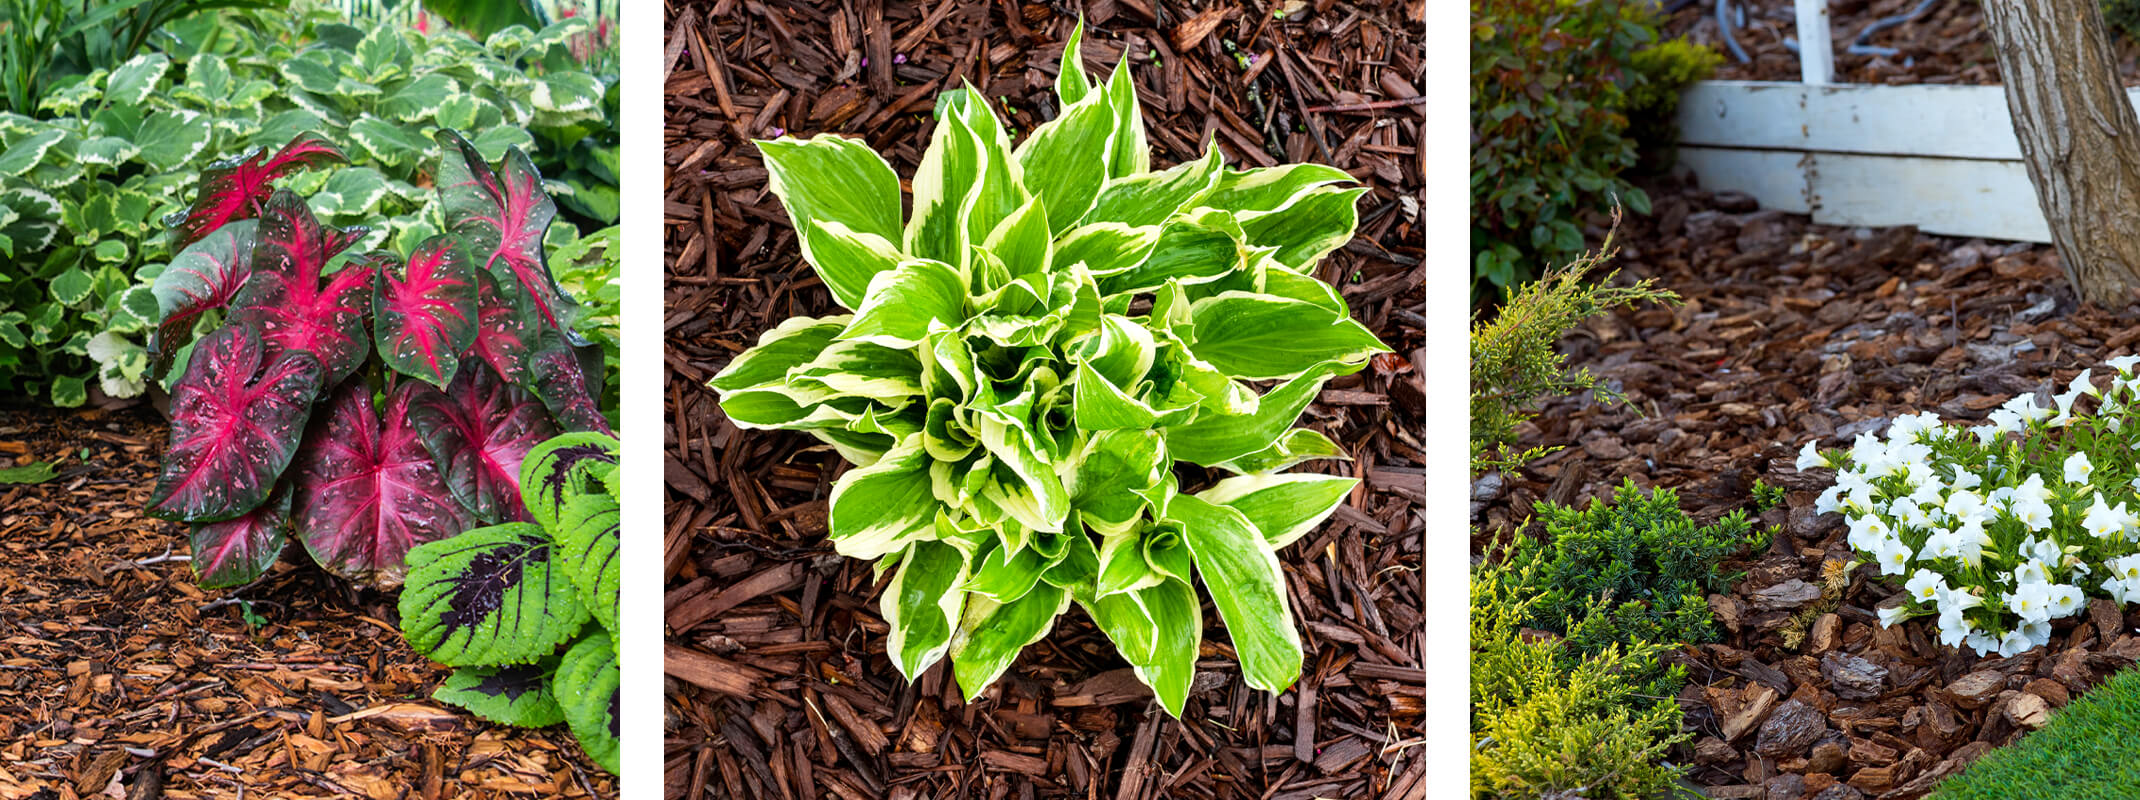
- Shredded bark
- Compost
- Leaf mold
- Pine straw
- Chopped leaves
- Wood chips
Aim for a material that holds moisture but allows some airflow. Compost and leaf mold offer extra nutrition.
Prepare the Area
Before mulching, pull any weeds and clear debris around plants. Rake to loosen the top 1-2 inches of soil. Lightly moisten very dry areas if needed.
Apply Mulch
Spread mulch 2-4 inches deep around each plant. Leave a gap of a few inches next to stems and avoid piling against trunks. Rake smooth. Replenish as needed after heavy rain or as mulch decomposes.
Maintain the Mulch
- Check thickness and refresh thin spots
- Gently turn or stir mulch 1-2 times per year to encourage even breakdown
- Replace wholly each spring
- Adjust depth and watering if plants show signs of distress
Mulching Tips for Balsam Plant Health
Follow these key tips for success with mulching balsam plants:
-
Mind the moisture – Thick mulch and poor drainage can leave soil soggy. Reduce depth or increase water breaks if plants show signs of overwatering.
-
Don’t overdo depths – Too much mulch causes issues like poor air circulation for roots. Stick to 2-4 inches around balsams.
-
Keep it organic – Organic mulches improve soil structure as they decompose. Inorganic materials prevent this soil enrichment.
-
Pull it back in winter – Where cold weather threatens, peel mulch away from plant crowns to prevent rot.
-
Refresh annually – Replace old depleted mulch with a fresh layer each spring to restore weed blocking and moisture retention.
Frequently Asked Mulching Questions
Confused about the nuances of mulching around balsam plants? Here are answers to some common questions:
Should I fertilize under the mulch?
This is not necessary. Decomposing organic mulch provides slow-release nutrition. Excess fertilizer under mulch can burn plant roots.
How often should I add more mulch?
Replenish thin spots as needed until a full 2-4 inch layer is restored. Plan to replace all mulch annually.
Can I use grass clippings as mulch?
Fresh grass clippings mat together and prevent good air circulation. Compost clippings first or mix thinly into other mulches.
Is fall mulching important?
Yes! Mulching in fall helps insulate plants from hard freezes and temperature swings. It’s vital for winter survival.
Should I mulch around my balsam seedlings?
Use just a very thin layer around new seedlings to prevent damping off disease. Increase depth as plants grow.
Bring Out the Best in Your Balsams
Now that you know how and why to mulch around your beloved balsam plants, you can give them the royal treatment they deserve! A properly mulched balsam will reward you with vigorous growth, bountiful blooms, and great garden presence. Just a little attention to this basic technique will keep your balsams looking positively regal.
Categories Browse By Topic:
Sowing Directly in the Garden:
- Direct sow seeds in average soil in full sun to part shade after all danger of frost.
- Prepare the soil by removing weeds and working organic matter into the top 6-8 inches of soil; then level and smooth.
- Most plants respond well to soils amended with organic matter. Compost is a wonderful form of organic matter with a good balance of nutrients and an ideal pH level, it can be added to your planting area at any time. If compost is not available, top dress the soil after planting with 1-2 inches of organic mulch, which will begin to breakdown into compost. After the growing season, a soil test will indicate what soil amendments are needed for the following season.
- Sow seeds thinly and evenly and cover with ¼ inches of fine soil.
- Firm soil lightly with your hand, water and keep evenly moist.
- Seedlings will emerge in 7-10 days.
- Thin to about 18 inches apart when seedlings are 2 inches tall.
- Keep weeds under control during the growing season. Weeds compete with plants for water, space and nutrients, so control them by either cultivating often or use a mulch to prevent their seeds from germinating.
- Mulches also help retain soil moisture and maintain even soil temperatures. For annuals an organic mulch of shredded leaves lends a natural look to the bed and will improve the soil as it breaks down in time. Always keep mulches off a plant’s stems to prevent possible rot.
- Balsam loves heat, and plenty of water.
- Monitor for pests and diseases. Check with your local Cooperative Extension Service for pest controls recommended for your area.
- Remove plants after they are killed by frost in fall to avoid disease issues the following year.
- Beautiful in mixed borders or shaded beds.
- Makes a nice temporary ground cover.
- Plant in drifts and let fill in, or use them as edging plants along walkways, terraces, or at the front of a bed or border.
- Some gardeners remove some leaves so it is easier to see the flowers.
Downy Mildew: This fungus causes whitish grey patches on the undersides and eventually both sides of the leaves. Burpee Recommends: Rotate crops with plants in a different family. Avoid overhead watering. Provide adequate air circulation, do not overcrowd plants. Do not work around plants when they are wet.
Edema (Oedema): Leaves become distorted due to excess moisture in the soil. Plants absorb more water than they can use. Burpee Recommends: Do not overwater plants, keep the soil moist but not wet. If drainage is poor add compost or peat moss to improve drainage.
Powdery Mildew: This fungus disease occurs on the top of the leaves in humid weather conditions. The leaves appear to have a whitish or greyish surface and may curl. Burpee Recommends: Avoid powdery mildew by providing good air circulation for the plants by good spacing and pruning. Contact your Cooperative Extension Service for fungicide recommendations.
Root Knot Nematodes: Microscopic worm-like pests that cause swellings (galls) to form on roots. Plants may wilt or appear stunted. This is a serious problem in many Southern states. Burpee Recommends: Do not plant into infested soil. Grow resistant varieties. Try planting ‘Nema-Gone’ marigolds around your plants.