Anubias is a genus of aquatic plants that are extremely popular for home aquariums and water gardens. With their hardy nature, slow growth, and adaptability, anubias are a foolproof choice for beginner aquarists and gardeners alike. Their lush green foliage adds a touch of nature to any indoor or outdoor space.
The best part about anubias is that they are one of the easiest aquarium and bog plants to propagate. With just a few simple steps, you can multiply your anubias collection and create a veritable underwater jungle or swampy paradise. Read on to learn all about propagating anubias plants effortlessly at home.
An Overview of Anubias Plants
Anubias plants belong to the Araceae family and are native to tropical West Africa There are several species of anubias available, but some of the most popular include
-
Anubias barteri – Distinguished by its large, broad leaves that can grow up to 16 inches long. This is the largest variety.
-
Anubias nana – A petite species that grows to just 6 inches high. It has small, pointed leaves.
-
Anubias gracilis – Has slender, grass-like leaves. Grows up to 12 inches tall.
-
Anubias hastifolia – Gets its name from the unique spear-shaped leaves. Grows up to 8 inches tall.
No matter the species all anubias are characterized by leathery dark green leaves that emerge from a thick green or brown rhizome. They can thrive fully submerged or partially above water. Slow growing, anubias requires little care and can live for many years.
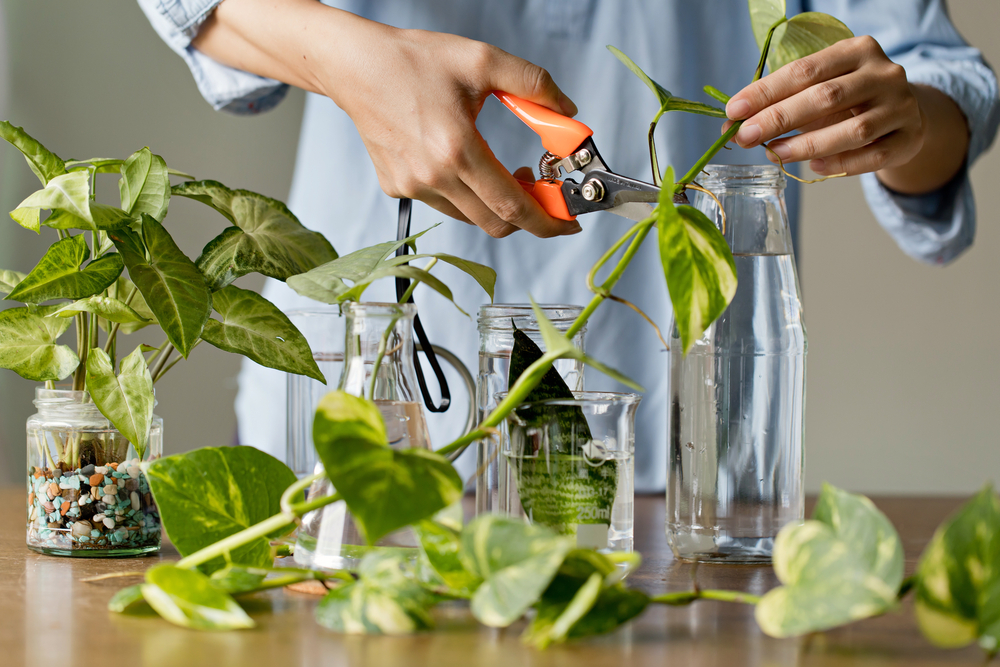
Step-by-Step Guide to Propagating Anubias
Propagating anubias is quite straightforward. There are a few different methods you can follow:
Method 1: Division
Dividing established anubias plants is the easiest propagation method Here’s how
-
Remove the plant from the aquarium or bog garden. Rinse off the roots if potted.
-
Locate the rhizome. This is the thick horizontal stem from which the roots and leaves emerge.
-
Using a clean, sharp knife or razor, cut the rhizome into segments, making sure each division has some roots and a couple leaves.
-
Replant the divided sections back into the substrate, allowing a couple inches between each division.
-
Provide good lighting and nutrients. The new plants will establish in a few weeks.
Method 2: Rhizome Cuttings
You can also propagate anubias by taking rhizome cuttings:
-
Remove a healthy plant from the substrate. Rinse off any debris.
-
Select a section of rhizome a couple inches long that has a few leaves and some roots.
-
Cut the rhizome segment off of the mother plant using a clean, sharp knife or razor.
-
Plant the cutting into the substrate in your tank or garden. Bury just the roots, keeping the rhizome above the substrate.
-
Provide ample lighting and nutrients. New roots will sprout within 1-2 weeks.
Method 3: Emersed Propagation
For the quickest propagation results, you can grow anubias emersed before transitioning to submerged growth:
-
Take a rhizome cutting as described in Method 2.
-
Plant in a pot or container filled with a lightweight potting mix. Place in bright, indirect light.
-
Keep the soil moist but not soaked. High humidity is beneficial.
-
New leaf and root growth will occur rapidly within a few weeks.
-
Once the plant is established, transition back to underwater growing.
Propagating from Seeds (Advanced)
Anubias can also be propagated from seed, though this is trickier. Here’s a brief overview:
-
Pollen from the male flower is used to fertilize the female flower. Seeds develop.
-
Harvest the ripe seeds and sow immediately into moist potting mix. Cover lightly.
-
Keep warm (around 75°F) and in high humidity. Germination takes several weeks.
-
Once sprouted, care for the seedlings as mature plants. They grow slowly.
Caring for Newly Propagated Anubias Plants
Once you’ve propagated your anubias plants, be sure to care for the new divisions properly so they flourish:
-
Place in bright, filtered light. Low to moderate light is sufficient.
-
Maintain water temperatures between 72-82°F.
-
Fertilize weekly with liquid fertilizer to encourage new growth.
-
Ensure good water circulation to prevent disease.
-
Watch for snails, aphids, and other pests which may attack young plants.
-
Transplant into larger containers as the anubias outgrows its space.
Troubleshooting Common Propagation Issues
While anubias propagation is quite simple, you may encounter a few issues:
-
Rotting stem – Ensure you use a clean, sharp tool to divide plants. Improve water quality.
-
Leaves falling off – This is usually due to transplant shock. Give the plant time to recover.
-
Poor growth – Increase lighting and fertilization if new plants are growing slowly.
-
Algae growth – Reduce lighting duration to 6-8 hours per day to control algae.
-
Plantlet fails to root – Gently tie the plantlet to a rock or driftwood until it anchors itself.
Enjoying the Benefits and Beauty of New Anubias Plants
The many varieties of anubias offer versatility and aesthetic appeal to aquariums and water features. By propagating your own plants, you can fully appreciate these benefits while saving money too.
With very little effort, you can exponentially increase your anubias collection in just a few weeks or months. Use these easy propagation techniques to create stunning aquatic displays or verdant bog gardens lush with anubias.
k
Free anubias? How to propagate your aquarium plants step by step!
FAQ
How to propagate Anubias fast?
Can you take cuttings from Anubias?
How do you root Anubias?
How do you grow Anubias in a pot?
Follow these steps: Get a potted Anubias plant with minimal height of 3”, super glue and aquarium rocks. Gently remove the plant from the pot. Clean the roots with your hands gently and dry them with a soft cloth. Locate the rhizome (between the leaves and the roots).
How do you propagate Anubias?
The major propagative means of the Anubias is through the rhizome. The rhizome can be planted on a nutrient-rich substrate, make sure you don’t bury it under the substrate. The actual roots can safely be in the substrate.
Do Anubias have a rhizome?
Rhizome: Anubias plants have a horizontal and thick rhizome from which the roots, leaves, and stems emerge. The rhizome helps the plant anchor itself to rocks, driftwood, or other surfaces in its natural habitat. Do not bury the rhizome, as it may rot and damage the plant.
How long does it take Anubias to grow?
The Anubias cuttings are more likely to grow when the rhizome and roots remain exposed. Alternatively, you may propagate Anubias by seed. You should see new leaves sprouting within 4 – 6 weeks of placing the stolon in the tank. It’s among the easiest aquatic plants to propagate among aquarium hobbyists.