Propagate your Common Storks Bill with ease and watch your garden flourish using our foolproof guide!
Alpine storks bill also known as Erodium reichardii, is a charming flowering plant that can add a pop of color and delicate beauty to both outdoor and indoor spaces. As the plant grows over time it will likely outgrow its original pot and need repotting to allow for further root development. Repotting seems daunting to some gardeners, but it is an essential task to maintain the health of potted alpine storks bill. With the right approach and care, repotting alpine storks bill can be easy. Here is a step-by-step guide to walk you through the process.
When to Repot Your Alpine Storks Bill
Timing is important when it comes to repotting. The best time to repot alpine storks bill is during the spring and summer months when the plant is in its active growing period. Avoid repotting when the plant is dormant in winter or fall. Signs that your alpine storks bill needs repotting include roots circling the bottom of the pot, stunted growth, floppy stems, and roots coming out of the drainage holes. Ideally, alpine storks bill should be repotted every 2-3 years.
What You’ll Need
Before getting started assemble the necessary materials
- Alpine storks bill plant that needs repotting
- Container 2-4 inches larger than the current pot
- Potting soil formulated for indoor plants
- Scoop or trowel
- Pruning shears or scissors (sterilized)
- Gloves (optional)
- Watering can
- Saucer or tray
Choose an indoor potting mix that contains compost or organic matter to provide nutrients. Make sure the pot you select has adequate drainage holes.
Step 1: Remove the Plant from Its Pot
Start by watering the alpine storks bill the day before you plan to repot it. This will help moisten and loosen the soil to reduce transplant shock. Gently remove the plant from its current container by laying the pot on its side and sliding the plant out. If roots have matted densely, you may need to gently loosen the root ball with your hands or trim away the most tangled sections with sterilized pruning shears.
Step 2. Examine Roots and Trim as Needed
With the plant removed, take a look at the roots. Trim away any dead, diseased, circled, or congested roots with your sterilized tool. This encourages new root growth. Healthy roots should be firm and white.
Step 3. Gently Loosen Root Ball
Prior to placing the alpine storks bill in its new container, gently loosen up the remaining root ball either using your hands or a tool like a small fork. This loosening separates the roots and removes any soil clumps, allowing the roots to spread out in their new container. Be careful not to damage the healthy roots as you loosen.
Step 4. Add Fresh Soil to New Pot
Add enough fresh, indoor potting mix to the new container to adequately cover the bottom third to half of the pot. Creating this layer of soil will help support the plant. The amount of soil you need will depend on the size of the root ball and pot.
Step 5. Place Plant in Pot and Fill In
Once you’ve added the initial layer of soil, place the alpine storks bill into the new pot. The top of the root ball should sit just above the level of the soil. Fill in around the root ball with more fresh potting mix, firming it down gently with your hands as you go to remove air pockets.
Leave about 1⁄2 to 1 inch between the soil line and the pot’s rim to allow space for watering. Add more soil if needed to reach this point.
Step 6. Water Thoroughly
After repotting your alpine storks bill, water the plant thoroughly until liquid drains from the bottom drainage holes. This helps settle the plant and saturate the new soil. Allow any excess water to drain fully from the saucer or tray beneath the pot.
Follow-Up Care After Repotting
With the transplant complete, your alpine storks bill will need some time to recover and adjust to its new environment. Here are some tips for follow-up care:
- Keep the plant out of direct sun for 1-2 weeks, allowing it to slowly adapt to increased light levels again.
- Avoid overwatering and let the soil partially dry out between waterings.
- Hold off on fertilizing for 2-4 weeks until the root system establishes.
- Monitor for signs of transplant shock like leaf drop and be prepared to adjust watering accordingly.
- Consider using stakes or ties to support floppy stems as the plant re-anchors itself.
- Be patient! Repotting can be stressful, so give your plant some time to bounce back and resume growth.
Troubleshooting Common Repotting Issues
Repotting alpine storks bill is generally quite straightforward, but occasional hiccups can arise. Here are some common issues and how to address them:
Plant wilts dramatically after repotting: The roots may have been overly damaged during transplantation. Prune away any crushed roots, water lightly to avoid oversaturation, and move the plant to a shadier spot until it recovers.
Leaves drop excessively: This can indicate the plant went too long between waterings and is stressed. Increase watering frequency slightly and mist the leaves. Avoid repotting during periods of peak heat or drought stress.
No new growth several weeks after repotting: Root damage, improper soil moisture levels, or inadequate light could be preventing growth. Review each factor and adjust as needed to encourage regeneration.
Repot with Care for Happy, Healthy Alpine Storks Bill
While it takes a bit of work, repotting is hugely beneficial for maintaining productive and vibrant alpine storks bill plants. Follow the tips outlined here to successfully repot your alpine storks bill. With the right preparation, gentle handling, quality potting mix, and proper aftercare, your plant will quickly bounce back from repotting. In its new, roomier pot, your alpine storks bill will have the space it needs to thrive and grow for years to come.
Dealing with Pests and Diseases
Unfortunately, pests and diseases can affect your plants. Its important to be proactive in preventing and addressing these issues to keep your plants healthy and thriving. Keep an eye out for any signs of pests or diseases, and take action as soon as you notice any problems.
As your plants grow, they may need to be repotted to provide more space for their roots to grow. Additionally, regular pruning can help promote healthy growth and maintain the overall shape of the plant. Understanding the proper techniques for repotting and pruning is essential for the well-being of your plants.
When and How to Divide Your Plant
Division propagation is all about timing. For Common Storks Bill, early spring or fall, when the plant isnt in full bloom, is your golden ticket. You want to catch your plant on a good day, when its not too busy showing off its flowers. To divide, gently unearth the plant, maintaining a respectful distance from the central rootball to avoid any unnecessary drama.
If the roots are playing hard to get, a sterilized, sharp tool may be needed to intervene. Otherwise, your hands are the best tools for the job. Look for natural separations in the root ball, and with a firm yet tender touch, guide the roots apart into smaller, self-sufficient clumps. Each division should have its own set of roots and shoots, like a mini-me of the parent plant.
REDSTEM FILAREE California wildflowers, Erodium cicutarium; Common Stork’s Bill,Heron’s Bill,Pinweed
FAQ
How do you transplant native flowers?
Can blooming plants be transplanted?
What does a stork’s Bill look like?
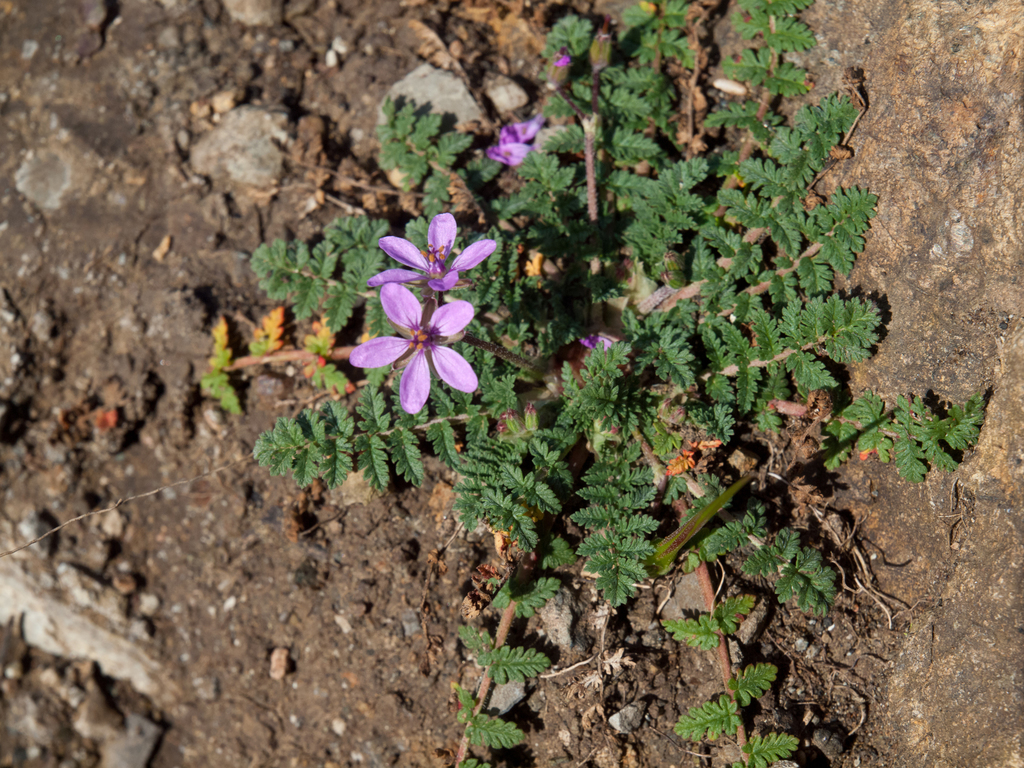
Common Stork’s-bill is hairy plant of dry grasslands, and bare and sandy areas, both inland and around the coast. Its bright pink flowers appear in May and last through the summer until August. The resulting seed pods are shaped like a crane’s bill (hence the name) and explode when ripe, sending the seeds, with their feathery ‘parachutes’, flying.
How do you know if a plant needs repotting?
If you see roots sticking out at the sides or above the soil level, or coming out of the drainage holes, your plant is root-bound and will need to be repotted into a larger container. If the soil or potting medium in your container isn’t absorbing water very well, it will also need some fresh soil along with repotting.
How do you repot a plant?
Remove the old soil when repotting a plant. Potting soil can become depleted of its nutrients in a few months, so replacing it will help your plant get nutrients to its root system and support new and vibrant growth. Gently tap the roots and crown area to remove old clumps of soil.
How do I choose a repotting pot?
It’s important to choose the appropriate size pot when repotting. If you choose a pot that is much larger than the existing one, it can negatively affect your plant’s growth because it’s important to keep the soil drainage consistent with the plant’s previous life cycle. Consider choosing a pot that is either the same size or only slightly larger.